Building the Cliffs of Dover – Part 2
It’s been way too long from my last update but some progress has been made this year. I’ll post the changes as I get around to doing them. Hopefully It won’t take long. So here is the first update of the year.
The cliffs were done and completed in Part 1 and left to do was the track level. I had to do some thinking as the cliffs had to removable to allow access to the electrical panel so I needed to make sure that the ground scenery did not stick to the removable section. I would have hated to complete the scenery only to rip out some trees the first time I needed to remove the section.
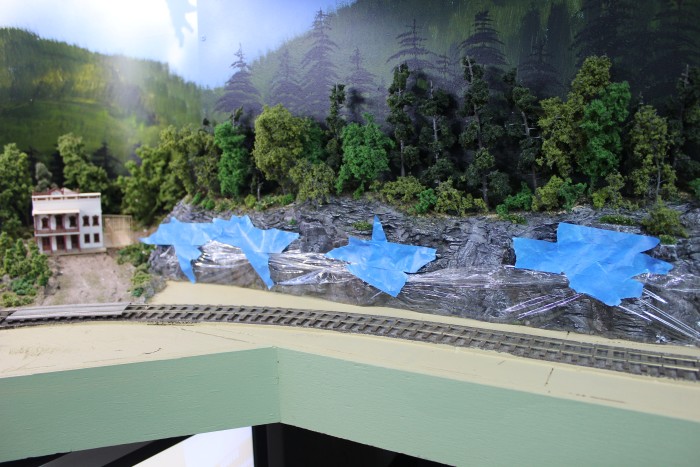
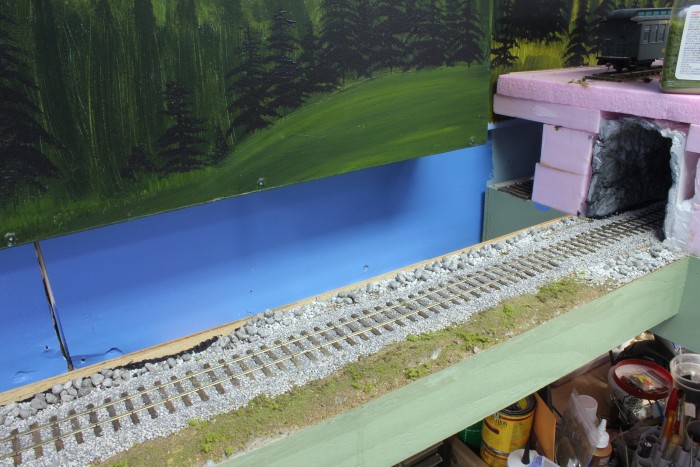
To begin I needed to separate the removable section from the track section so that once done the removable section will still be removable. I used saran wrap as the separation media to do this. In order to keep the wrap out of the way I tapped it to the rock face. Here is the left hand side of the rock face.
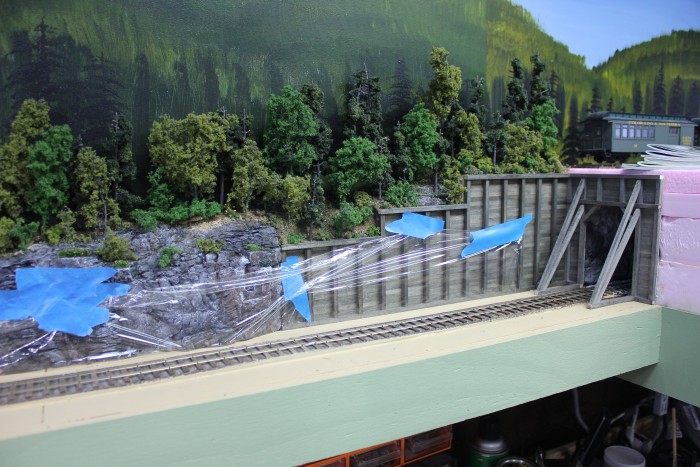
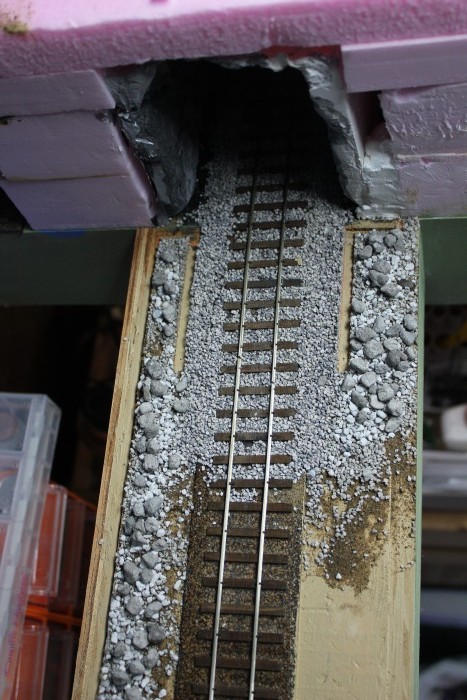
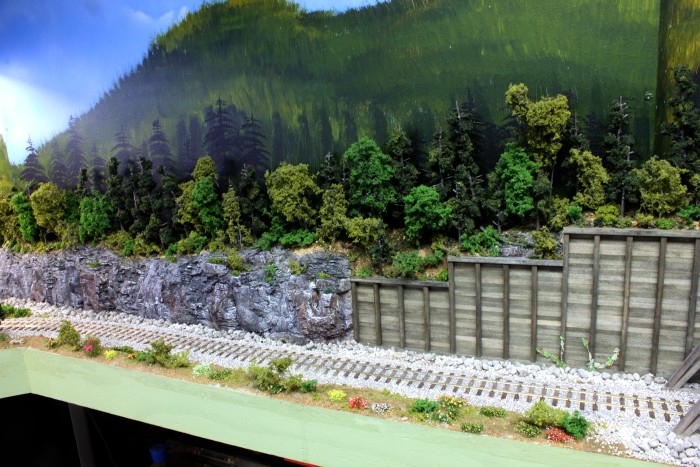
The right hand side of the rock face including the tunnel portal. Talus was added between the rock face / retaining wall and the track. Three sizes of the Woodland Scenics grey ballast was used in this step.

Once dry the cliff face was removed I painted the back edge of the talus with flat black paint in case gaps showed to when the cliffs were reinstalled. Before the cliff face was removed I traced the edge of the tunnel portal, retaining wall and portal supports.
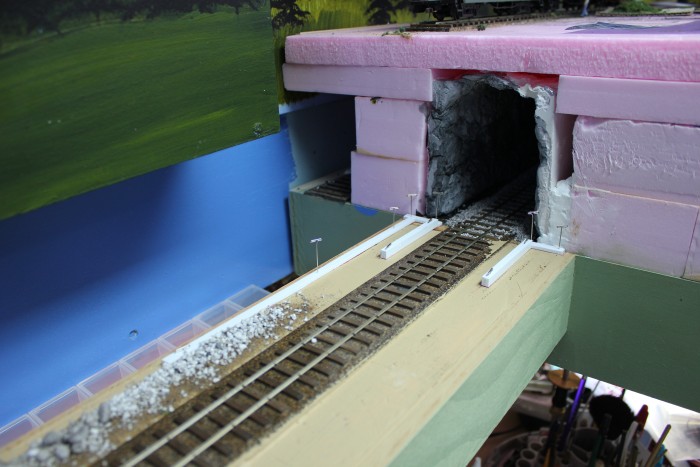
I pinned styrene strips where the tunnel portal, retaining wall and portal supports go so that when the ground cover is added these areas will be kept free of the ground cover. Before the styrene strips were pinned in place I covered them with petroleum jelly so the glue would not stick to the styrene.
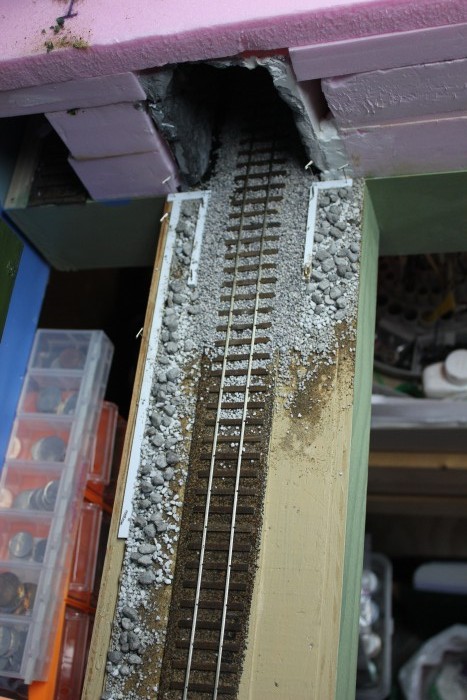
The talus and ballast added to the tunnel portal area of the cliffs. I found the talus to be to light so I added a couple of washed of A/I (alcohol/ink) to darken it up and make it closes to the colour of the cliff face.
Once everything was dried I removed the styrene strips.
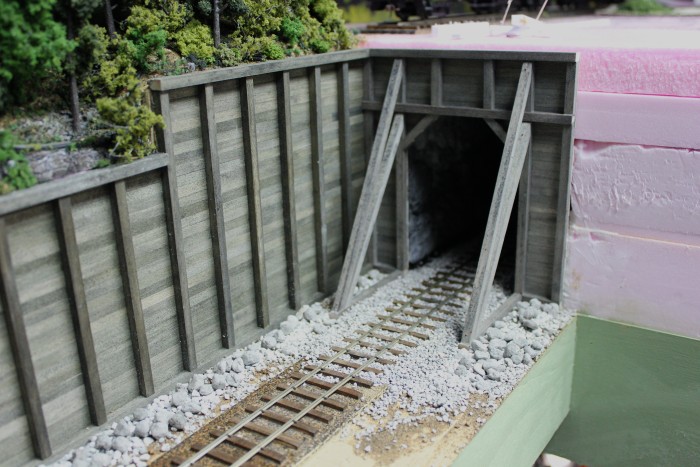
At this point I reinstalled the rock face / retaining wall / tunnel portal to see if it could be reinstalled easily and to see how it looked. It fit like a glove.
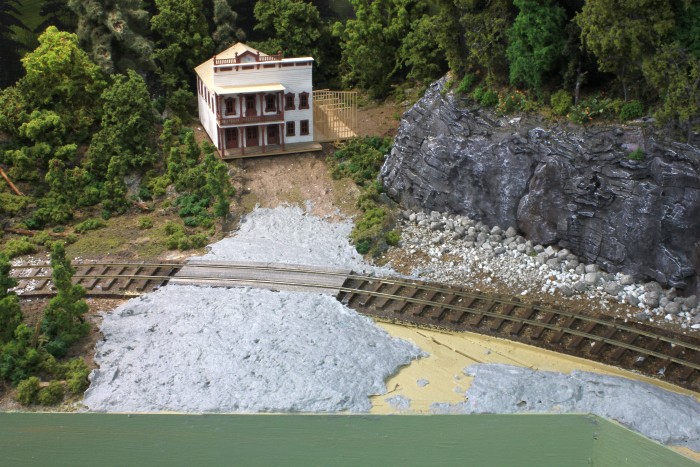
I mixes up some “ground goop” (recipe below) to add some elevation to the area and bring the road to the cabin up to the same level of the track. (The N scale building shown in these photos have been replaced with a HO scale cabin) One of the features I really like about the “ground goop” is that it takes a few days to completely dry, so if you go back a day later and you want to make changes it is a really easy process.
I had a little of the “ground goop” left over so I added some elevation changes in front of the rock face and tunnel portal.
While the goop was still wet I added full strength white glue to the areas without the goop and added my base ground cover, sand and brown sanded tile grout. I only use a little of the grout to act as a binder and glue for the scenery material.

I did the same to the area in front of the rock face / retaining wall. I wasn’t worried about the goop showing through the ground cover as the grey colour looks like rock outcroppings.

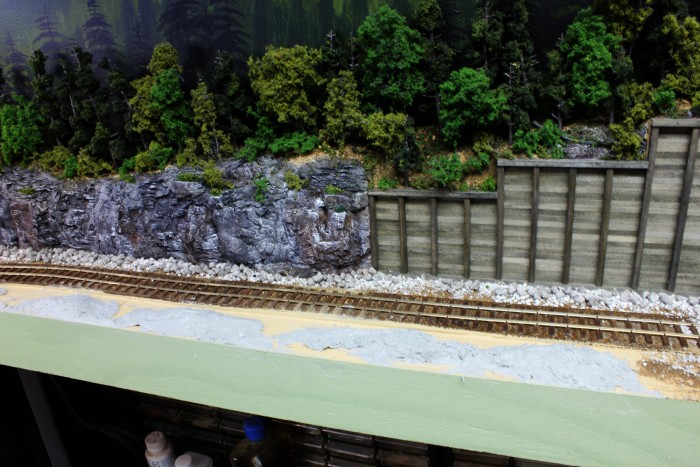
THe next step was to add the ballast. Once the ballast was added and blued into place I added some “greenery”. I also added this in the completed area behind the track to tie everything together.
The “greenery” was added to the area in front of the rock face / retaining wall. At this point I misted the area with 99% isopropyl alcohol (wet water) and added a 50/50 mixture of white glue/water to glue everything in place.
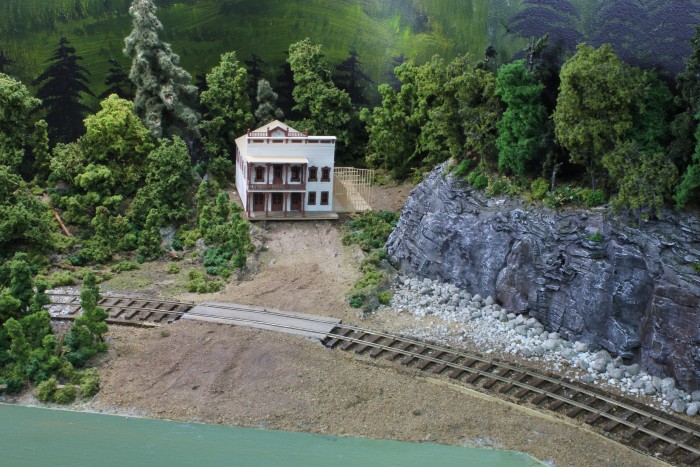
Trees were added at the side of the road to the cabin. This area was far enough away from the wall that removal of the cliff face was possible without damaging the trees.
Bushes shrubs and flowers were added to complete the scene.
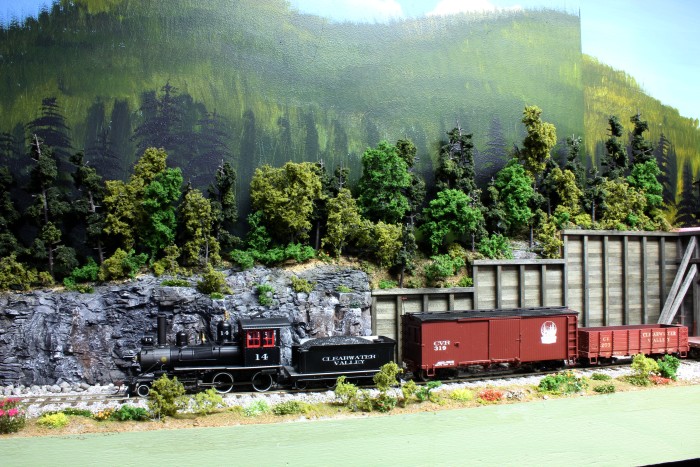
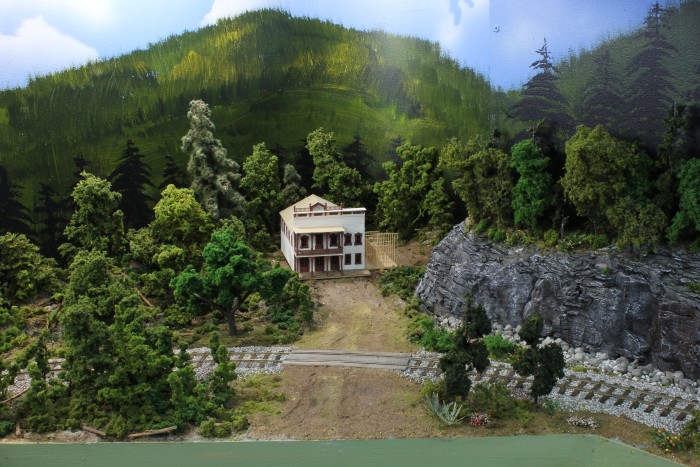
Here is train #21 on its way to Mara running through the completed scene. At this point I have one corner of my layout completely scenic and I’m really liking how it looks.
“Ground Goop” recipe
Grey Celluclay (this is a paper product available in craft stores like Michael’s)
White glue
Water
Javal
To make put a handful of Celluclay in a mixing bowl and add a dollop of white glue. I just turn the gallon glue container on its side until a blob of glue falls out, nothing is exact here. The white glue acts as a binder. While mixing in the glue I add water till I reach the consistency of thick oatmeal. Finally I add a couple of drops of Javal to the mix. The Javal prevents mold from growing on it during the drying process.