Only one update this year
Looks like it is way past time for another update, hard to believe that the railroad is already 4 years old, thought that there would be more progress at this point, but life seems to keep getting in the way. Progress has been slow since the last update but there is progress. I guess it would be best to start at the end of the last blog (volume 3), at least a year didn’t go by this time.
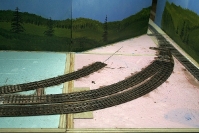
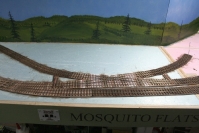
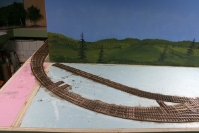
Just after Christmas I started on laying the track for mosquito flats. The trackwork at Mosquito Flats is the most complicated to date as it required 2 turnouts leading into a crossover that also had a curved switch attached. This arrangement was built on a piece of 8″ x 48″ long piece of pine at the workbench. I drew the track geometry and tie layout in Autocad and printed a couple of full size copies. One was used to lay out the PC ties and rail at the workbench and the other copy was glued to the benchwork to give the location of the wooden ties. The trackwork took a couple of evenings to build and another evening to spike in place.
Once the crossover and associated turnouts were built there left only two turnouts to build, a couple of track sections and the two staging tracks.
All was going well until I discovered a short in the crossover. It took a whole evening to find an elusive short that was finally solved when I discovered I missed a gap on a PC tie. The short wasn’t caught at the workbench because the short only appeared during one unique set of circumstances.
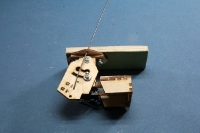
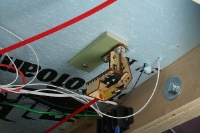
At this point I decided that I would control the turnouts remotely using “bullfrogs” made by Fast Tracks. I bought the unassembled ones as they were cheaper ($6.00 unassembled vs $9.00 assembled) and I bought enough to do all the turnouts on the layout. It only took 15 minutes to assemble the first one and once I had the assembly procedure worked out I did the rest of the ones for Mosquito Flats as an assembly line. An hour later they were all assembled.
I had to figure out how to mount them as they are made to be screwed to the underside of the roadbed so the mounting portion is small and would not give an adequate the gluing surface to the foam. I solved this by screwing a piece of 4″ x 2″ x 3/8″ popular to the foot and glued this to the underside of the foam roadbed. This mounting method also allowed me to make any minor adjustments that may have been required.
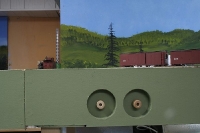
The bull frogs are controlled using plastic choke cables that I purchased at a local hobby shop that sold pards for radio controlled airplanes. I bored a 2″ hole in the framing so that the pull/push rods would be receased. The handles are wooden knobs I picked up at a craft store.
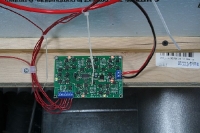
Rather than figure out the electronics required to power the frogs of the crossover made complicated by the frogs of the turnouts leading into the crossover I purchased a “frog juicer”(made by Tam Valley Depot, sold by Fast Tracks). This device can control up up 6 frogs on a single board and are very easy to install and wire up. All you need to do install DCC feeders to the board and run one wire from the board to each frog.
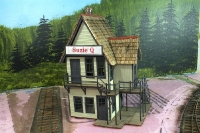
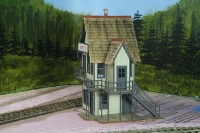
In other developments I plan to finishup the half built buildings sitting on the layout in the town of Clearwater. First up was “Suzie Q”, only thing left is to add the details which I will add when I do the scenery. To the right of Suzie Q will be the Clearwater Revival Church


