Starting to lay track
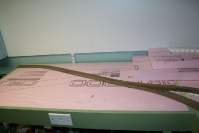
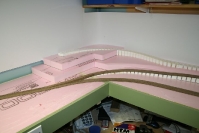
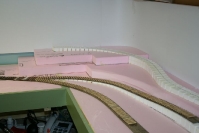
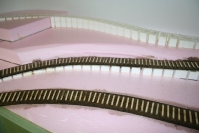
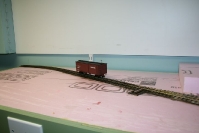
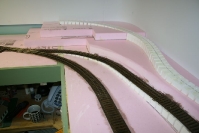
Well Christmas has come and gone and it was tine to get some more work done on the layout. First off I would like to wish everyone a happy and prosperous new year. I got on a roll this past week and made great progress on the layout, got 9 ft of track down at the west end of the tunnel end of the layout, but I’m getting ahead of myself.
First order of business was laying down the road bed. For this I used 1/8″ thick Gasket cork. I got this from my local gasket supplier in 3′ x 3′ section which I cut into 1″ wide strips for the roadbed. This material is denser than what is available at the local home improvement section and compresses much less, which for me is ideal for spiking down the rails.
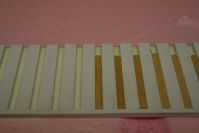
Once the cork was down and left to dry overnight it was time to lay some track. My method of laying track is as follows. Ties are the first step in the process. To speed to this process I made a tie jig 24″ long that spaces the ties approximately 24″ apart (center to center). The cross ties are put in the slots and a strip of painters tap (less tacky than normal masking take) is applied to the ties once they are laid. This gives me a strip of ties 24″ long that can be laid at one time. I’m using Mt. Albert Lumber’s 5″ x 7″ x 6′ cross ties (part # MA376) and 5″x 7″ x 12′ switch ties (part # MA378) cut to length
Before I could lay the ties though, I glued down a template of the turnout at its location so that I would know where to stop the 6′ long ties. I’m using Fast Tracks jigs to make my turnouts and they have a large library of turnout, crossover and other templates available to download. If you would like to know more about there products, click on the Fast Tracks logo located at the bottom of the menu.
The first item in laying the ties was to cut the switch ties to length and glue them directly on the template, except for the shaded ties. These are part of the turnout when it is built. Once this part was done a layer of white glue was spread out along the roadbed and the cross ties laid. It actually takes longer to explain it than it is to do it.
Once the glue was allowed to dry overnight the tape was removed and the ties stained. For the stain I’m using Minwax “special walnut” (#224). After the stain is allowed to dry the tops of the ties are sanded to even up the top of the ties. The stain makes it easy to see where the high and low parts are by how much or little of the stain is removed. Once all the ties were sanded and leveled the ties were restained.
Now comes the fun part, laying the rail. For this layout I’m using code 70 rail as the layout is set in the back woods of British Columbia so therefore used light rail. Rail laying starts by installing the turnouts and go from there. One great thing about using the Fast Track jigs is that once constructed the turnout can be laid in one piece. I spiked every tie on the turnout that didn’t interfere with the operation of the points. Laying the rail on the cross ties is simply a matter of laying outside rail and then using a three point gauge, laying the inside rail. Right now only every second tie is spiked. I may go back later and spike the ties in between but that will only be for looks as spiking every second tie is more than sufficient to keep the rail in place.
Unfortunately I didn’t have much of code 70 rail ion hand and ran out of rail. More is on order so rail laying will continue when my shipment arrives. To find out what the story about the rail shortage was about I looked into the archives of the “Clearwater Telegraph” (i.e. my fertile imagination) and found an article about it. You can find it under the Clearwater Telegraph link in the menu.
Maybe if there is enough interest I’ll write a detailed article on how I lay track and post it on this website.
Next order of business will be to install my Digitraxx system so that when Canada Post finally delivers my Forney, I’ll be able to run it.
